


So I purchased a 2007 Gas Gas 450 as a bit of a project. Now if you haven’t heard of Gas Gas, they are a Spanish motorcycle company known for their trials bikes and also their enduro line. They make bloody good bikes. I owned a 300 2 stroke back in the day and it was a good thing. So when I saw this going to cheap I thought I’d snap it up.
It is not without its issues though. Straight up, it was in need of a very good clean up. So far I’ve degreased the engine, dumped the oil, cleaned the chain and given it a general tidy up. It still has some work to do.
The main issue with the bike is that the ECU has a bad connection (fuel injection is brilliant until it fails then its a bastard). On these particular models, the ECU is located on the bottom of the fuel tank. When people take the tank off for various reasons, they fail to notice that the wiring loom is clipped to the ECU, breaking the clip in the process. As the plug to the ECU isn’t connected properly, it jiggles around over time and makes the connection shite. Mine appears to be pretty bad and has been an absolute bitch to try and fix. What happens is the fuel pump fails to prime, you reach down and wiggle the ECU with your hand until you hear the fuel pump prime. Doing this all the time is extremely tedious to say the least. So far I’ve relocated the ECU to the frame and I’m trying different techniques on how to get it to work consistently. Best case I can DIY fix it. Worst case I replace the wiring loom. Thankfully, it starts well and runs like a dream. I’ll provide updates as I make progress.
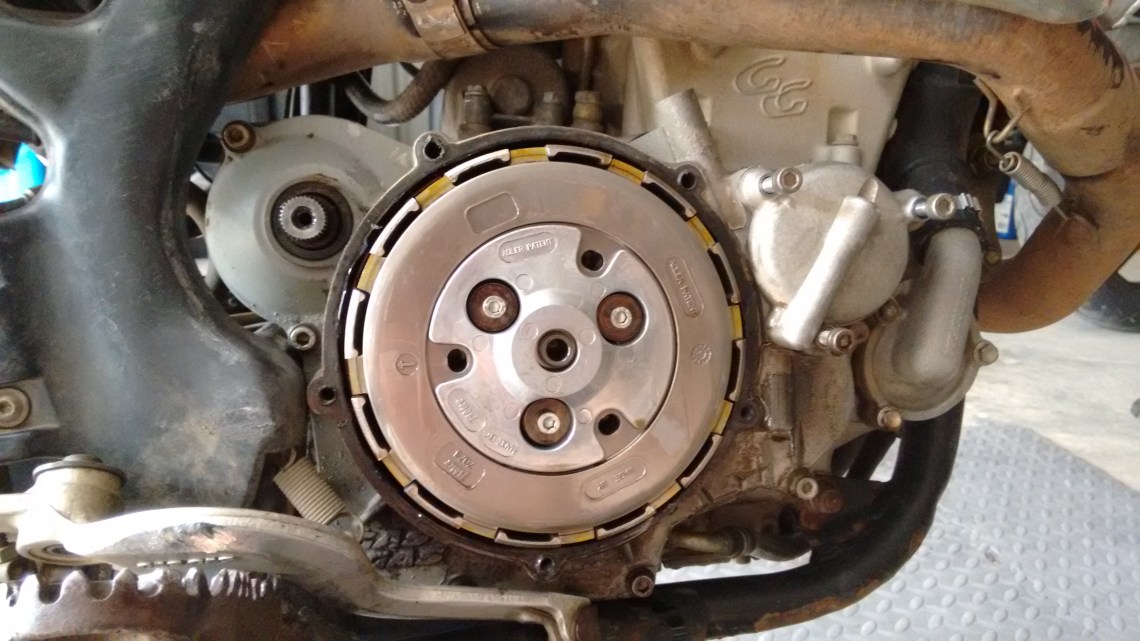
Next up, the kick start gear has broken. It broke the first time I kicked over the bike when ECU trouble shooting. Time to take things apart and get my hands dirty.
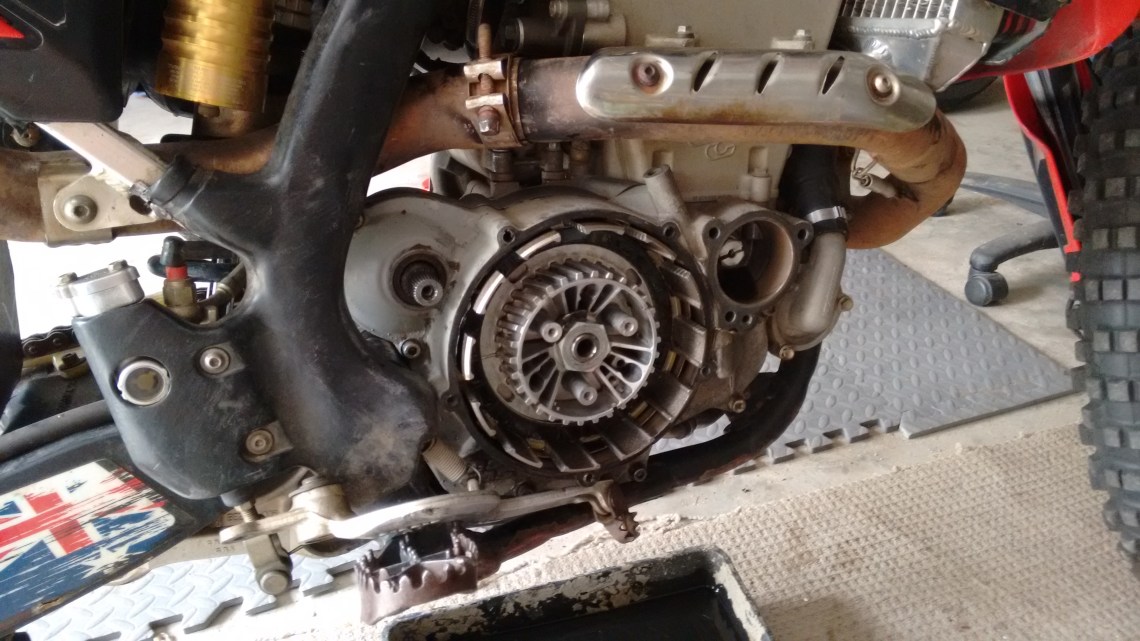


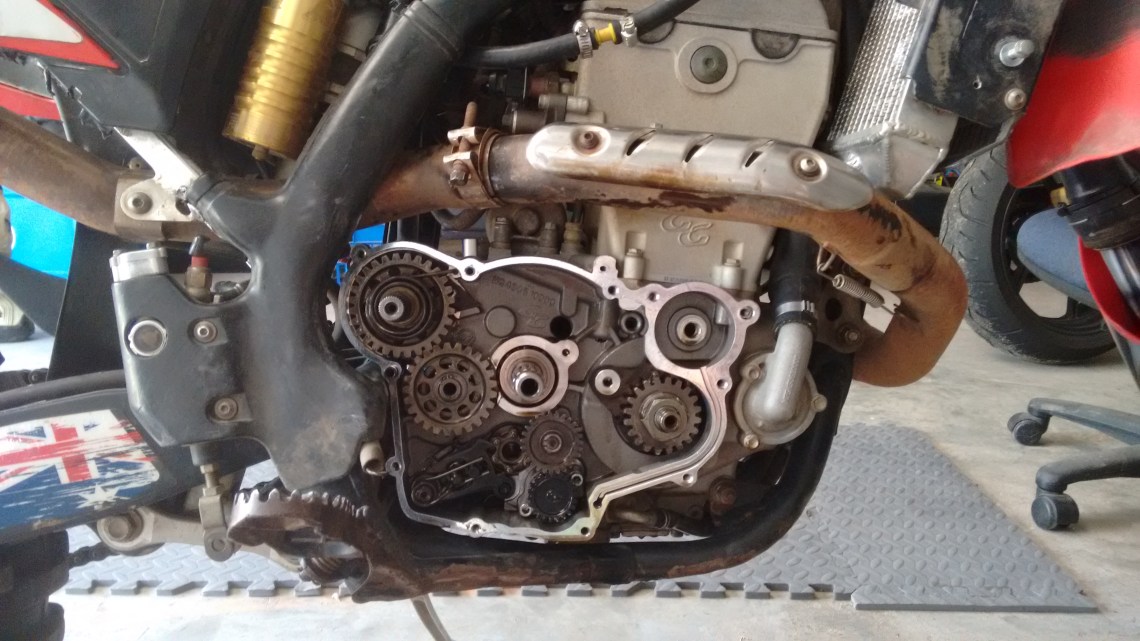

I ordered a new kick start gear and received it in the mail recently. When I put everything together I noticed kick start spring was broken too. Guhhhhh. It must have been damaged as well when the kick start gear snapped. I’ve ordered a new one of those and I’m currently waiting for it to come into stock.
I’ve got to say, while frustrating at fuck, its been fun learning how to take things apart and put them back together with very little prior knowledge. The bike has the makings of a great bike so here’s hoping I don’t break everything.
I’ll do more posts as parts arrive and things progress.
Keep in OnTheBackWheel…
