


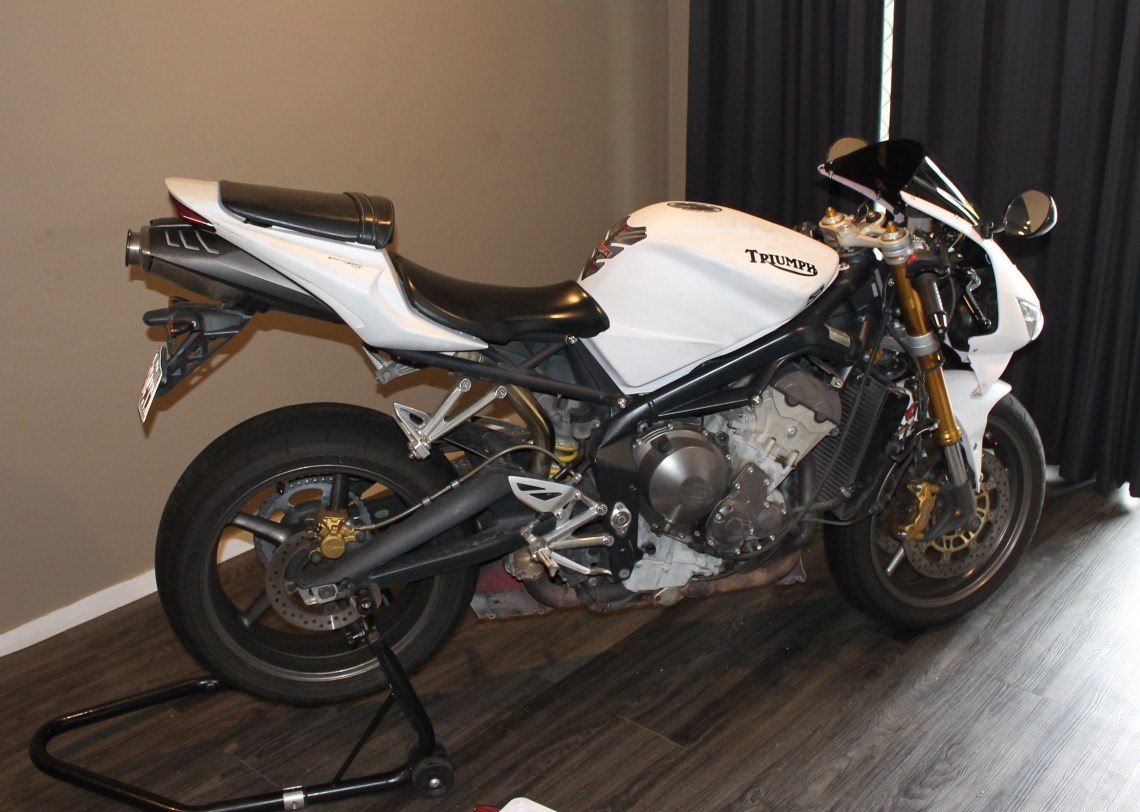
With the chain and sprockets done, it was time to move onto the next phase, crash protection. Lets get straight into it.
To start off, we needed some crash protection. Introducing, GB Racing.

First off, we have to remove the fairing. For some guidance we turned to the Triumph 675 forums. For a detailed guide on how to removed the fairing, check out this link, http://www.triumph675.net/forum/showthread.php?t=894.


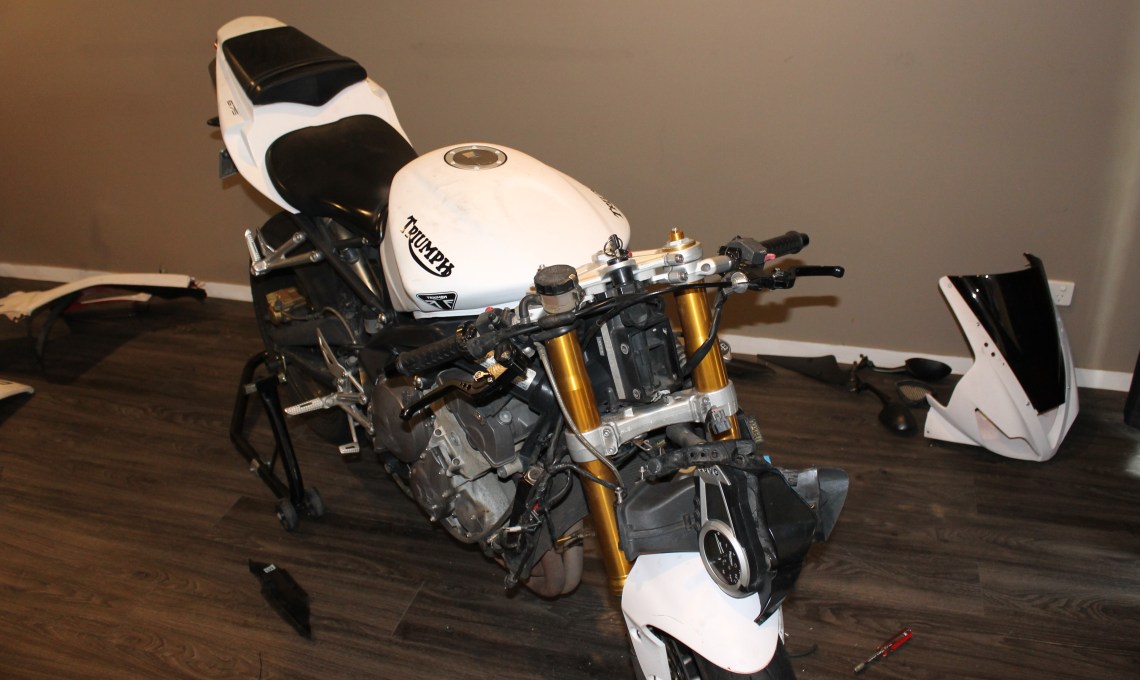
Removing the fairing was pretty easy. The only issue was some plastic coming off with the bolts. As for the steering stop? The repair of that will be covered in another article.
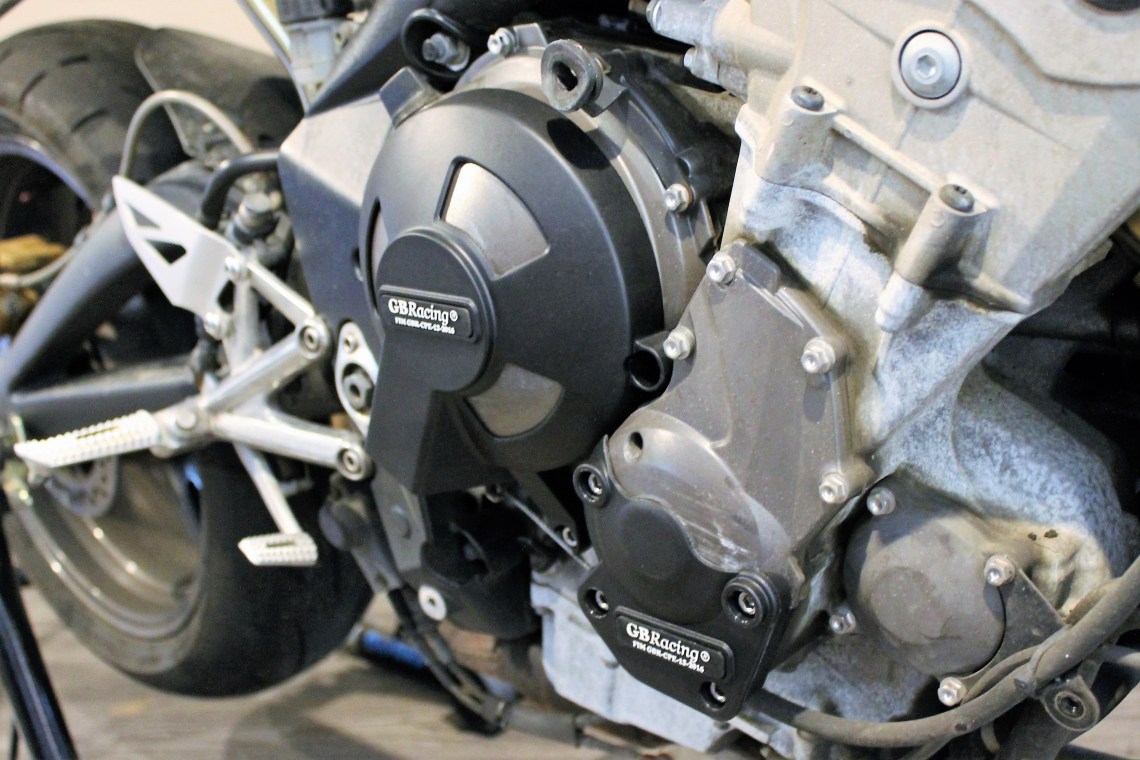
Now, time to install the crash protection. Again we used the Triumph 675 forum as a guide. Here is the link we used, http://www.triumph675.net/forum/showthread.php?t=26981.
The installation went off without a hitch, except the engine sliders. The front engine bolts were stupidly tight. In order to reach them, you need to unbolt the radiator and push it forward. Then the bolts required 3 socket extensions and a swivel head just to get to them.


Since everything was apart, it was a good time to give some things a clean up. The sump and shock were filthy.

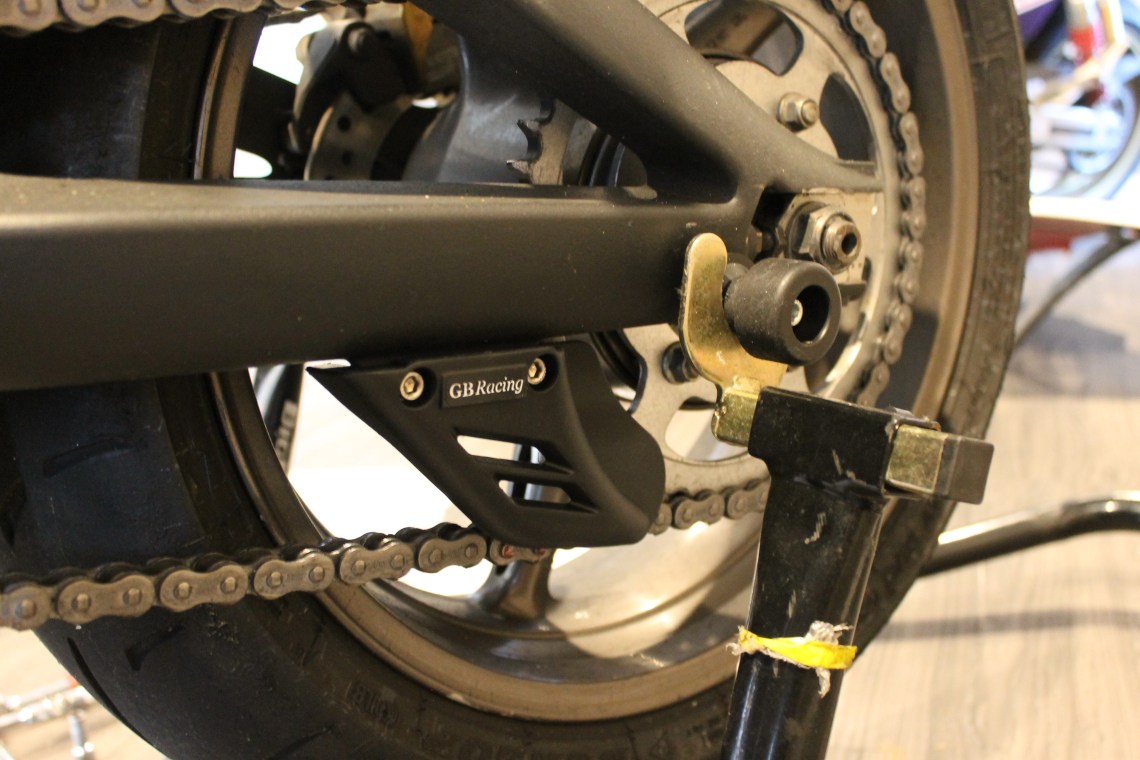
So, that’s the crash protection installed. Overall, the quality of the GB Racing products is top notch and they look great.
But alas, there is no rest for the wicked. There is still plenty of work to do. In the future the fairing needs to be repaired and there is oxidisation on the engine block to be cleaned up. Next up, we’ll be installing a new steering stop.
Hopefully by this time next week, I’ll have a new Danmoto exhaust to install on that CBR track hack of mine. In the mean time, check out my older content and subscribe on Facebook, Instagram, Twitter and Youtube.
Keep it OnTheBackWheel people!

1 Comment