


On my last post on Project CBR, I just got new fairing for the track hack. You can read that article by clicking here. Now I’ve got it, its time to install it.
I started by removing all the old fairings and kept all the bolts to fit the new fairing. I’ll be using dzus clips I got off ebay to fit the top fairing and belly pan. The new fairing did not come pre drilled so I went ahead and drilled all the necessary holes. First up I drilled a pilot hole with a 3mm drill bit. Once everything was square I used a 6mm drill bit. A trial run on the first hole showed that it was too small for the dzus clip. I had to use a 6.5mm drill bit and rounded out the hole slightly to make them fit.

After I did all the holes, it was time to see how everything fitted. I started with the top fairing and it bolted up straight away. I also cleaned up the old windscreen, removed all the old shitty stickers and fitted it. Onto the tail section.
The rear is an extremely tight fit around the bolt holes. It took a lot of fiddling but I got there in the end. After I got the rear to fit, be fucked if I could get the rest to line up. I spent hours only to find that the seat section was hitting the sub frame.

I called Eugene to see if I was doing something wrong. He gave me some ideas, namely to move the seat section to a different location. I used a hammer, tons of swearing and a screw driver to remove seat section. It was attached with motor body filler and bloody tough to get off. Once that was off I tried the seat in various positions but it was the same or worse, duh. I started to question my sanity and called Eugune again. After doing some measuring it appears the mold had moved when he was making it and as a result was the wrong size. Thankfully Eugene said he’d make a new section and ship it to me. Time to move onto the belly pan.
I was pretty excited to clip the belly pan on to see how it all looked…and it didn’t clip up. No matter what I did, I couldn’t get it to clip on to both sides at the same time. Curtis was starting to get very annoyed.

I looked and looked and eventually saw that the header pipe was hitting the belly pan. Another call to Eugene and the fairing is designed for aftermarket headers not my stocko OEM. Eugune suggested I cut out a small section where the fairing was hitting or source some aftermarket headers that are narrower.
I did some research and getting a set of aftermarket headers was a minimum of $500. From the ones I found, I wasn’t sure if they would hit the belly pan too. I’m reluctant to run a full system without a power commander and tune. Plus, this is supposed to be a budget track hack and that would drive costs way up. There was only one solution, DIY time!
After doing some further inquiries, I decided to cut a section out of the fairing Ducati Panigale style. Don’t you just love cutting brand new fairings?…
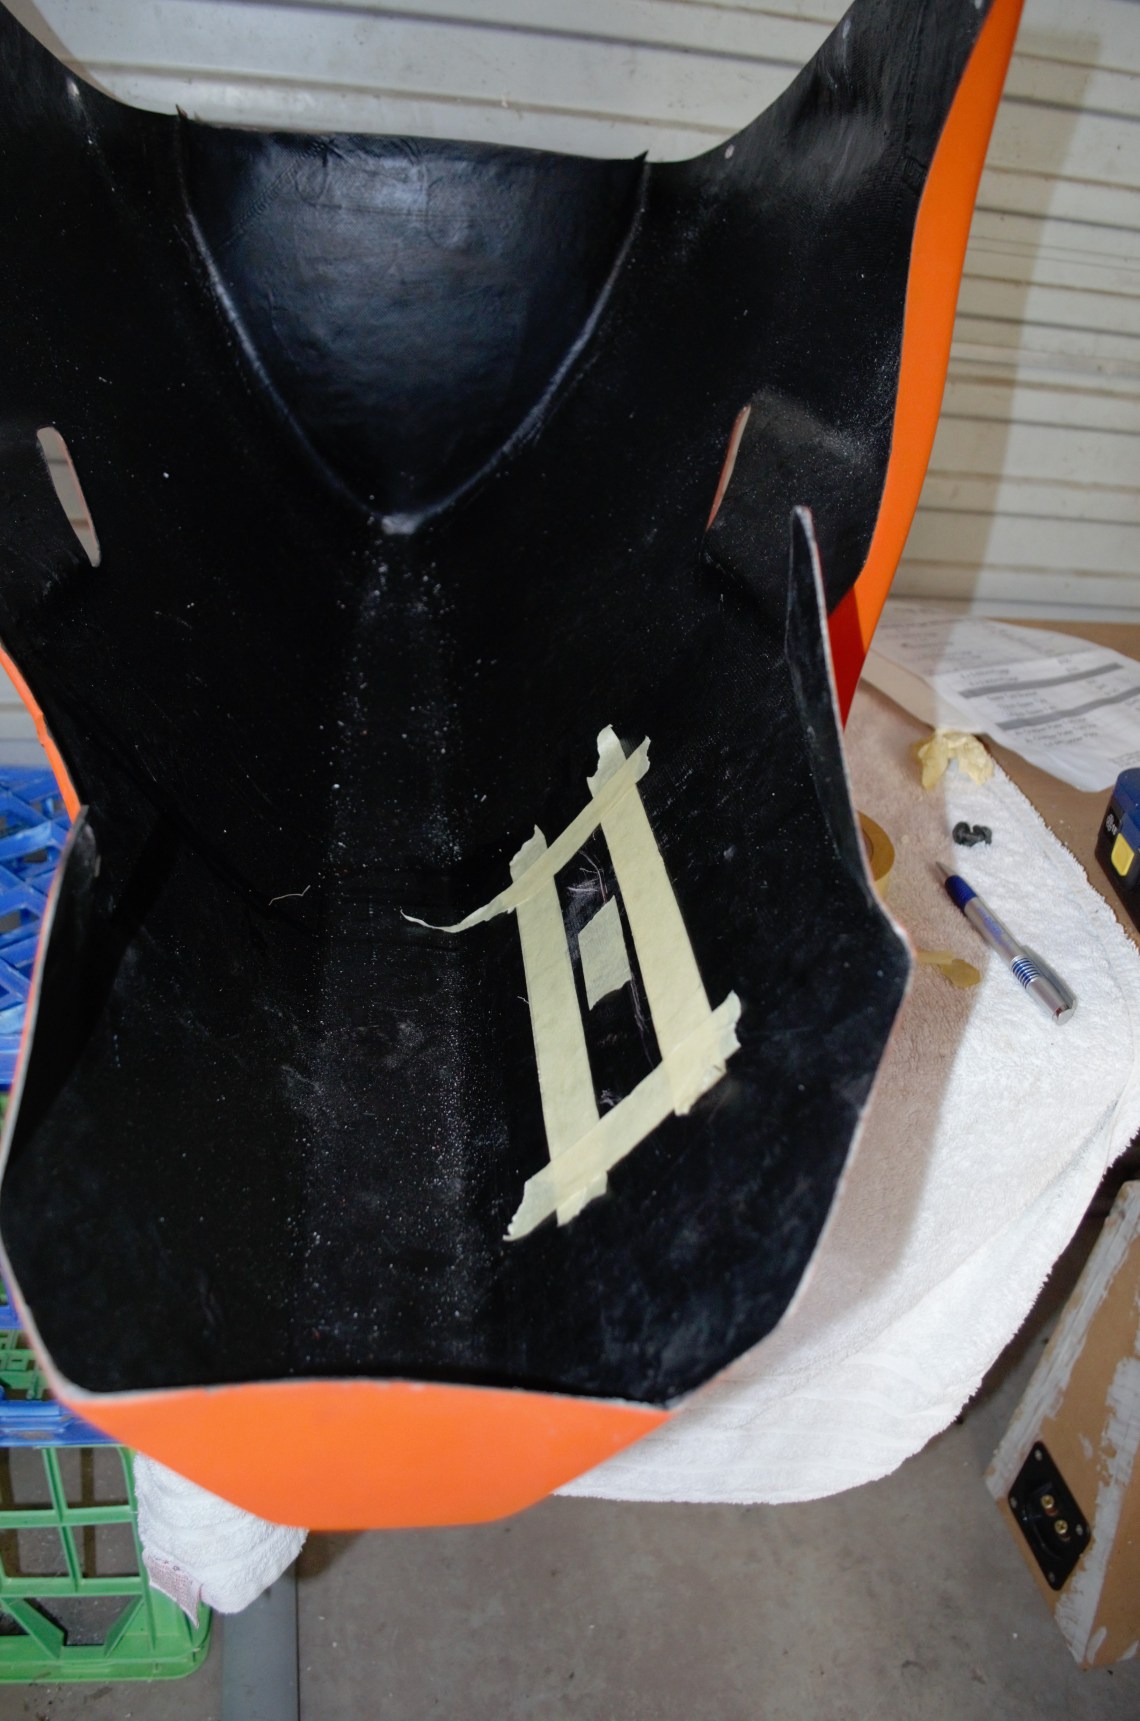
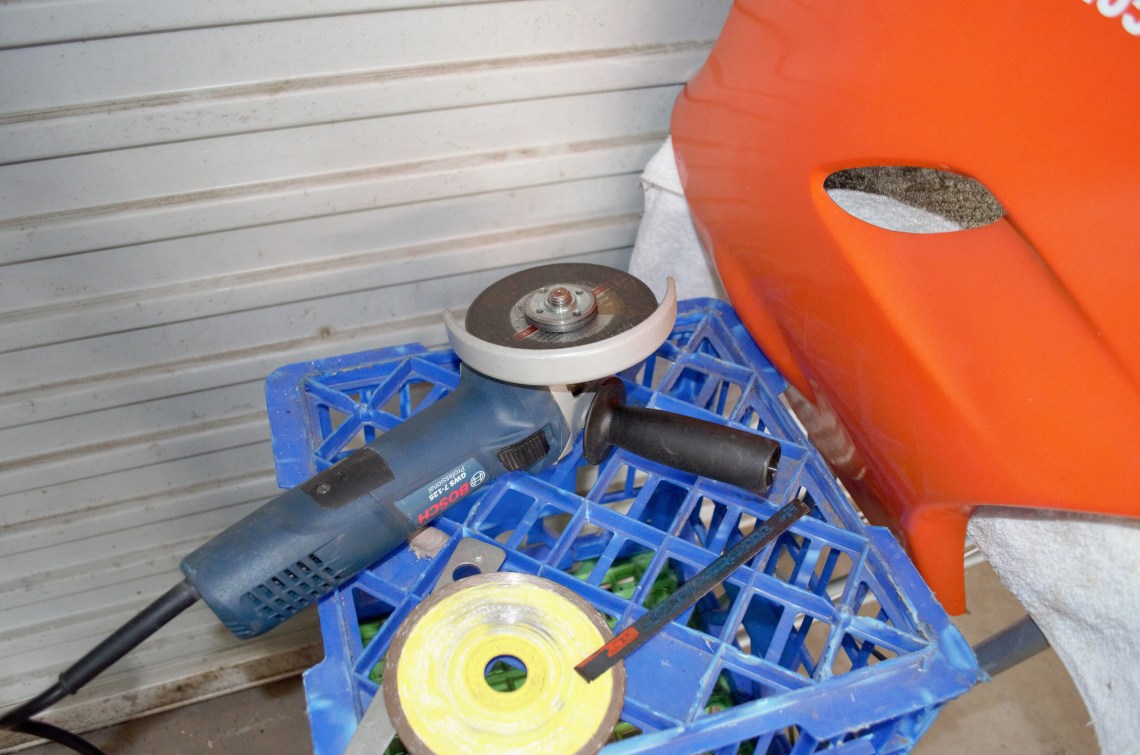
I marked out the section using masking tape, it is approximately 200mm x 60mm. I took my time using a grinder with a thin blade to cut out the section from the outside in to avoid chipping the gel coat. I started off small and made it larger when I was more confident.
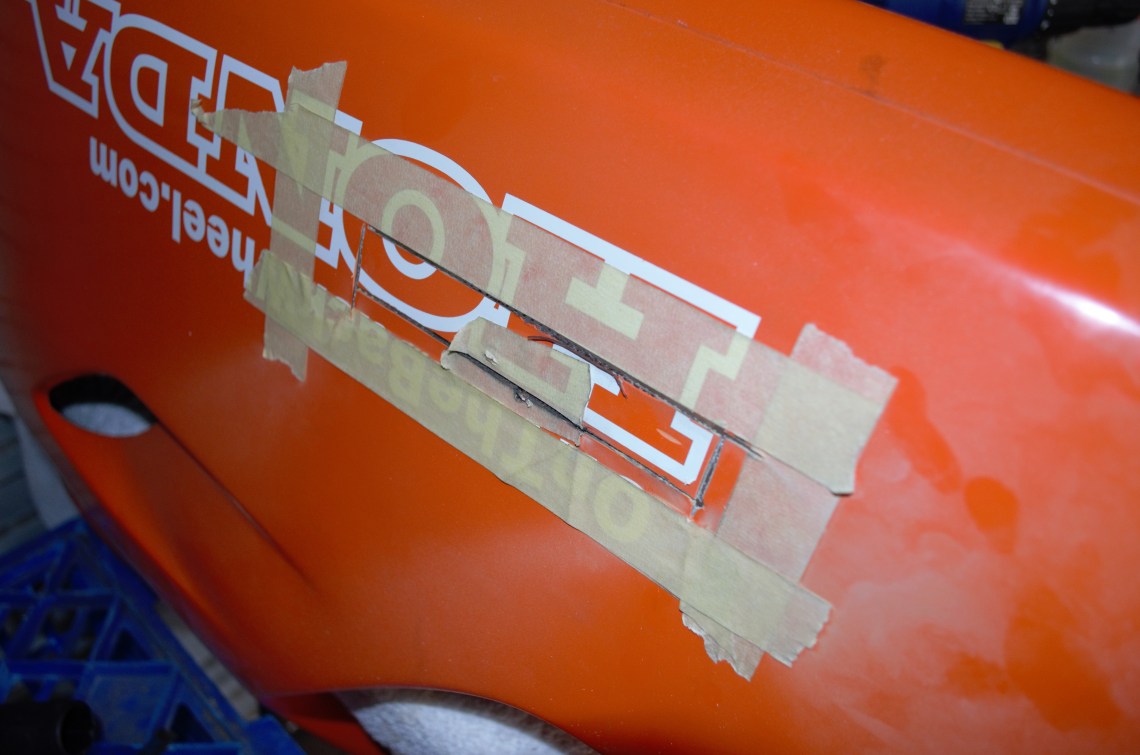

After cutting the hole it now clips on, but some of the header is still hitting the fairing so I’ll have to do some more trimming. It will then be a case of sanding, making it tidy and putting some more stickers on. I’ve put the exhaust on and found that the link pipe sits hard on the fairing. I’m not sure what I’m going to do with that. I might try some exhaust wrap and a heat shield.
I’ve ordered a new battery and the only other thing I should have to buy are bar ends, the rest I should be able to do myself. I’m looking forward to getting this thing on the road, its certainly been a mission. On the bright side I’ve learnt some new skills.
Updated costs
Bike – $700
New Danmoto exhaust – $180
Second hand throttle cables – $40 off Ebay
Rear pick up spools – $12 off Ebay
Fiberglass race fairing – $740
Dzus clips – $31 from Doctorglass
Battery – $49
Total – $1752
So thats it for now people, keep it OnTheBackWheel and look out for more updates on Project CBR.
To read the first Project CBR article, click here.
